Follow the below steps to create a new step:
- Navigate to WooCommerce > Multistep Checkout > Checkout Steps.
- Click on the +Add new step button.
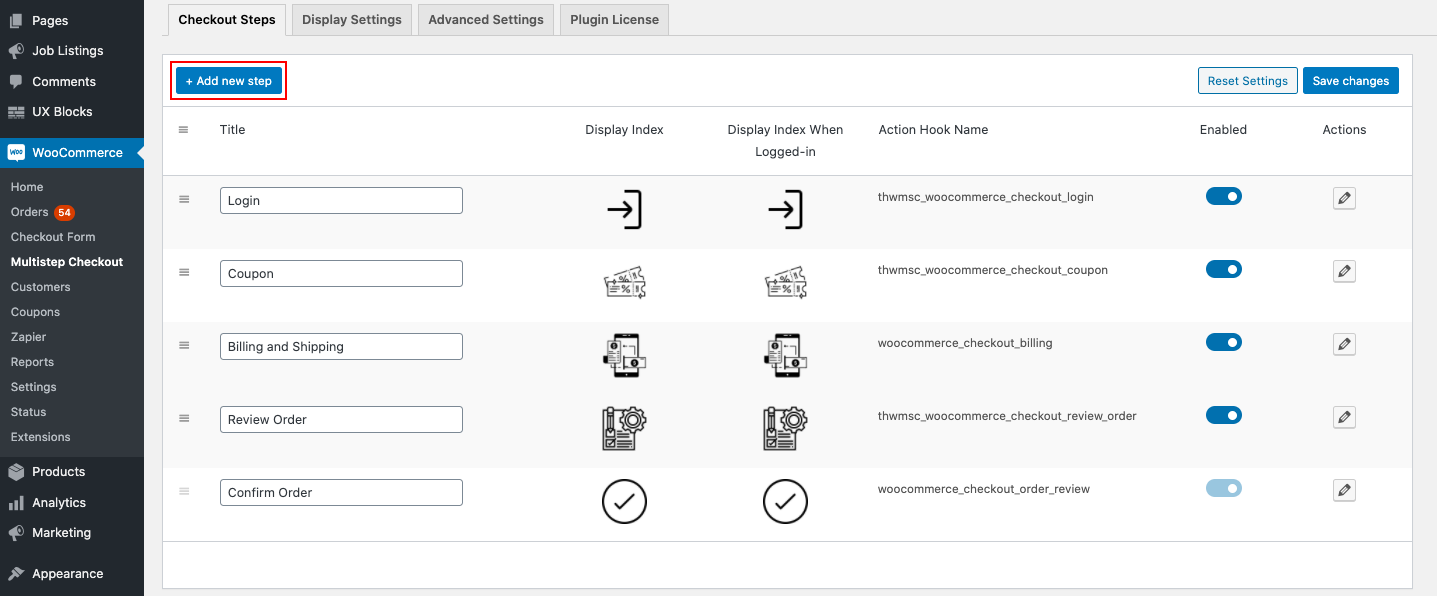
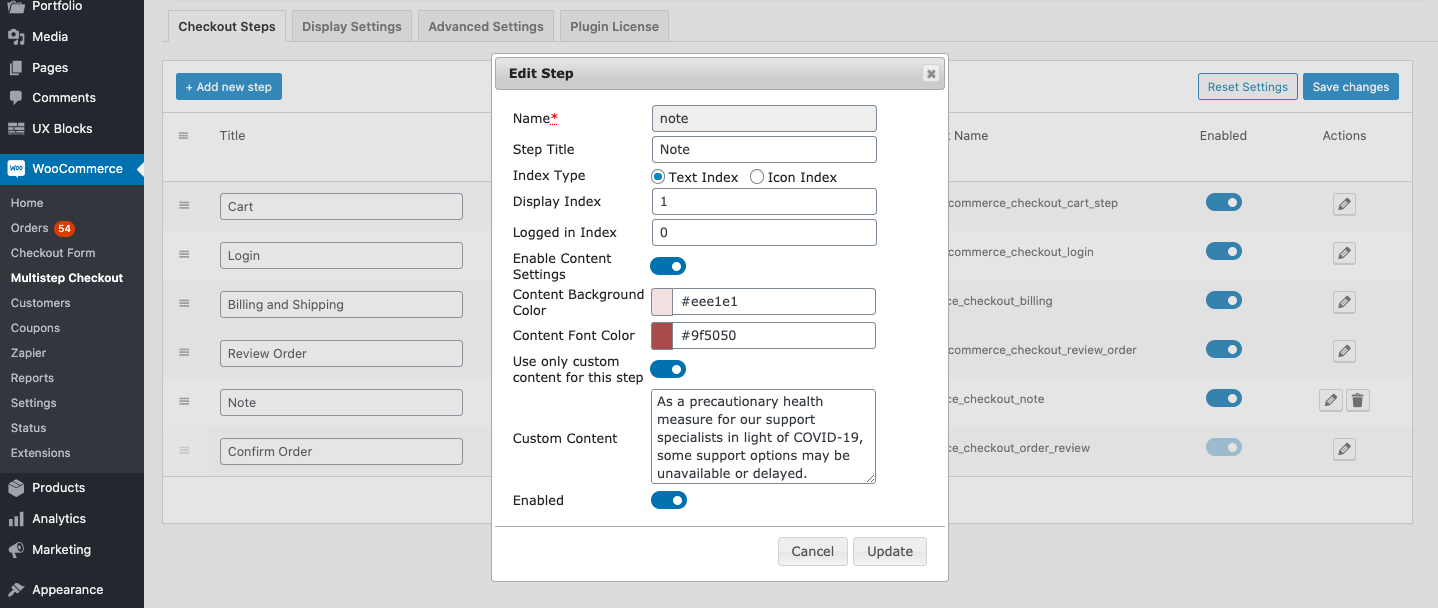
- In the pop up displayed, you can provide the step name, step title, display index, and Index Type.
|
Name |
Provide a unique name for the step. |
|
Step Title |
Enter the step title to be displayed. |
|
Index Type |
Choose the Index Type from the Edit Step pop up. Selecting the Icon Index type allows you to upload images on the step icon. |
|
Display Index |
If you are choosing a Text Index type, then you can provide the index number for the specific step in the Display Index textbox. |
|
Logged in Index |
Provide the display index for the step when the shopper is logged in. |
|
Enable Content Settings |
Switch on the Enable Content Settings option to add background and font color. Disable it, if not needed. |
|
Use only custom content for this step |
Switch on the Use only custom content for this step option to add custom content for your step. |
|
Custom Content |
Enter the custom content in the corresponding textbox. |
|
Enabled |
Switch on the Enabled option to enable the specific step on your checkout process. |
Comments
0 comments
Please sign in to leave a comment.