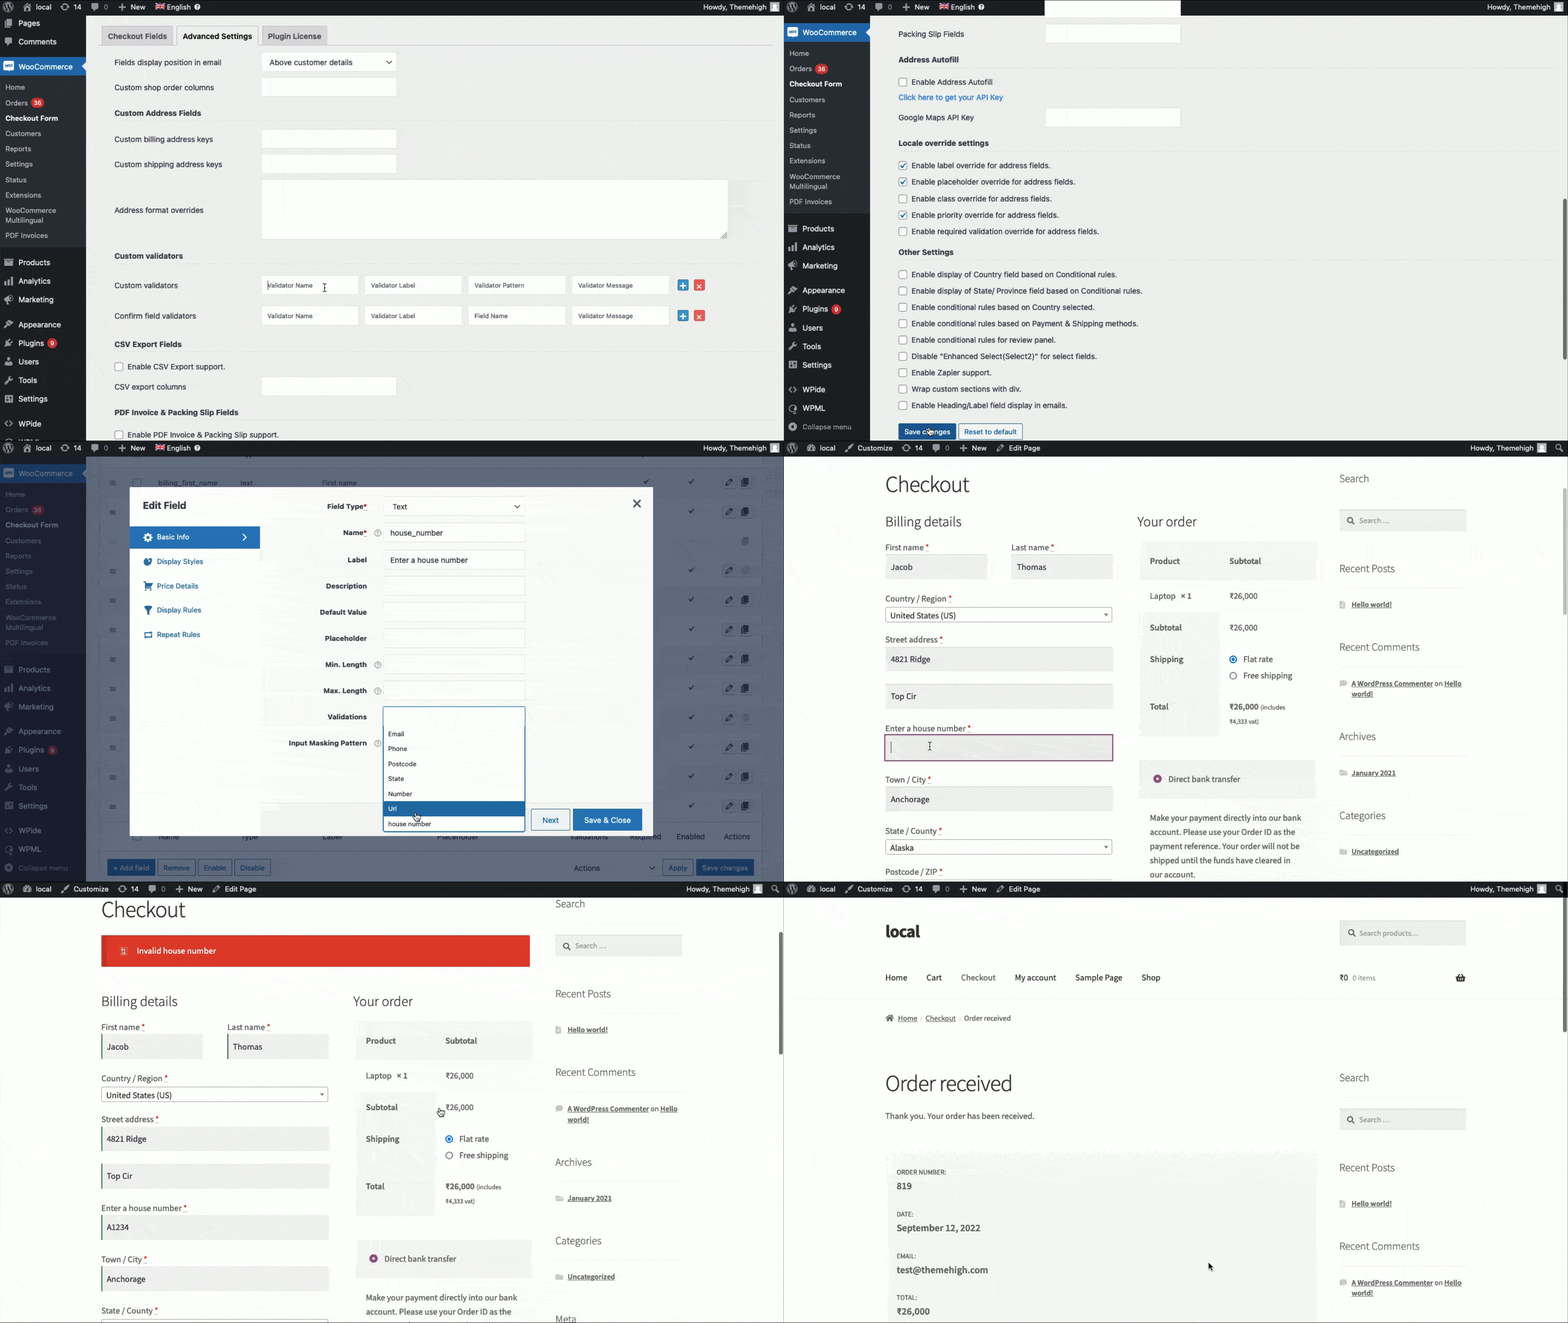
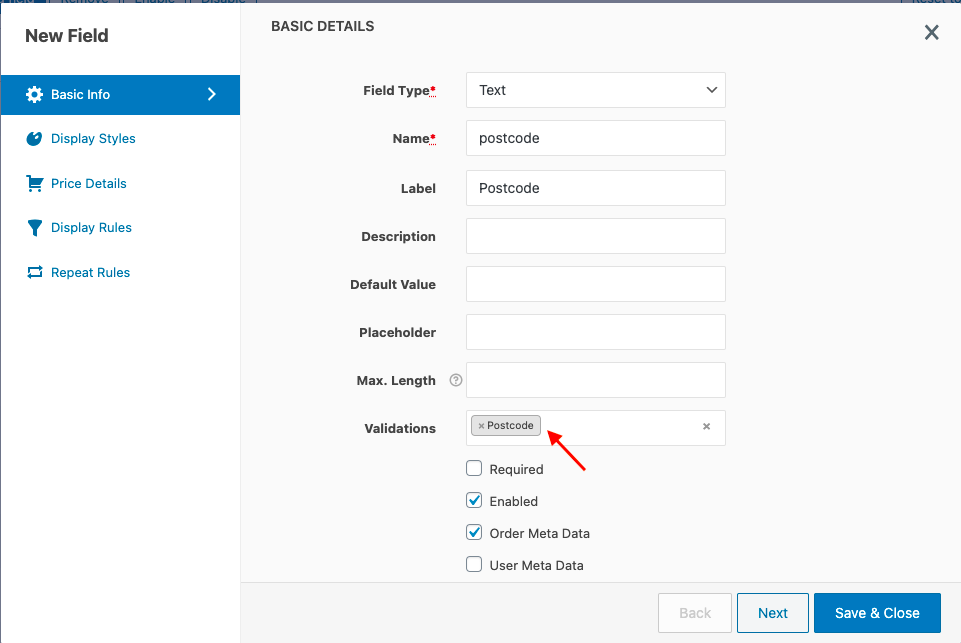
Custom validator features can be used to define custom validation rules using RegEx which can be selected from the 'Validations' drop-down when creating or editing checkout fields.


Example:

To create new custom validators,
- Go to Dashboard → WooCommerce → Checkout Form → Advanced Settings page. You can see a section Custom Validators with 4 fields showing Validator Name, Validator Label, Validator Pattern, and Validator Message.
- Fill in the fields according to your requirements. Enter the regular expression to be validated in the Validator Pattern field.
- Click on the Add New Validator button to get a new validator settings row.
- Enter the validator settings.
| Validator Name | A unique name for the validation rule, which will be used internally to identify the validator. |
| Validator Label | The display name for the validation rule. |
| Validator Pattern | A regular expression is used to match a valid input. Eg : /^[0-9]{5}$/. The regular expression must be prefixed with /^ and suffixed with $/. |
| Error Message | The message to be displayed when the validation fails. Use %s to include field names in validation messages. |
- Save Changes.
- Newly created validators will be available to choose in the Validations drop-down.

Comments
0 comments
Please sign in to leave a comment.