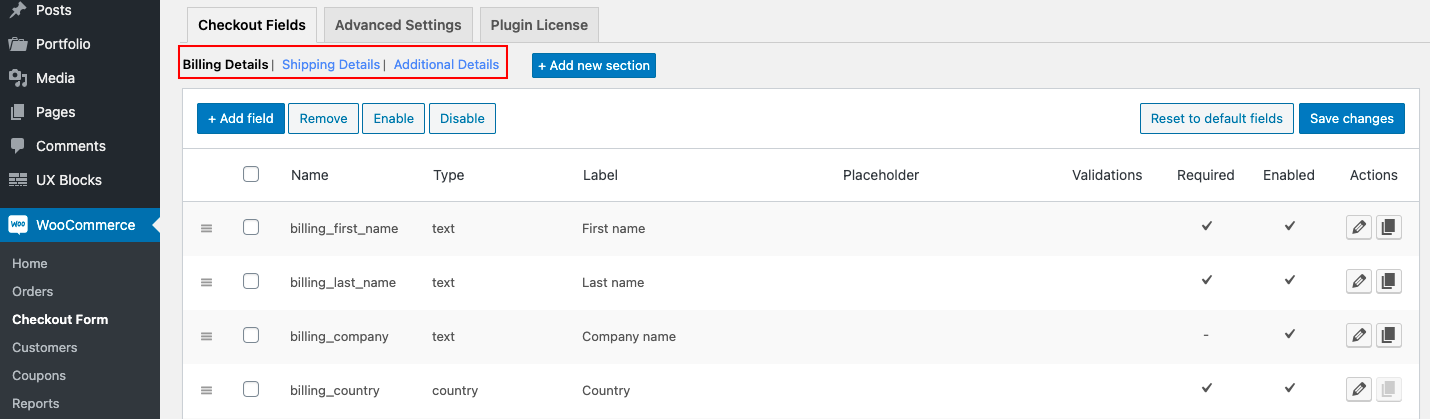
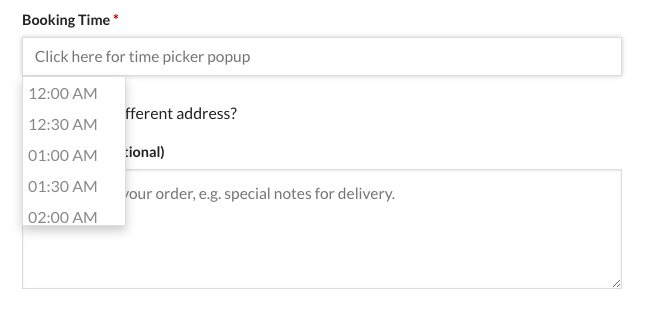
This article explains the steps to add a Time Picker in the WooCommerce Checkout page by correctly configuring the WooCommerce Checkout Field Editor plugin. A Time picker is a dropdown list with time slots listed at a defined interval. This input field helps users to choose time for delivery, appointment, etc. Once WooCommerce Checkout Field Editor is installed and activated, you can access the plugin settings page via WooCommerce > Checkout Form.
After making changes in the plugin setting, always click on the ‘Save Changes’ button to save those changes.
Add New Time Picker Field
To add a new Time Picker field, first go to one of the sections (Billing, Shipping, Additional Details, or your custom section) where you want to add the field.
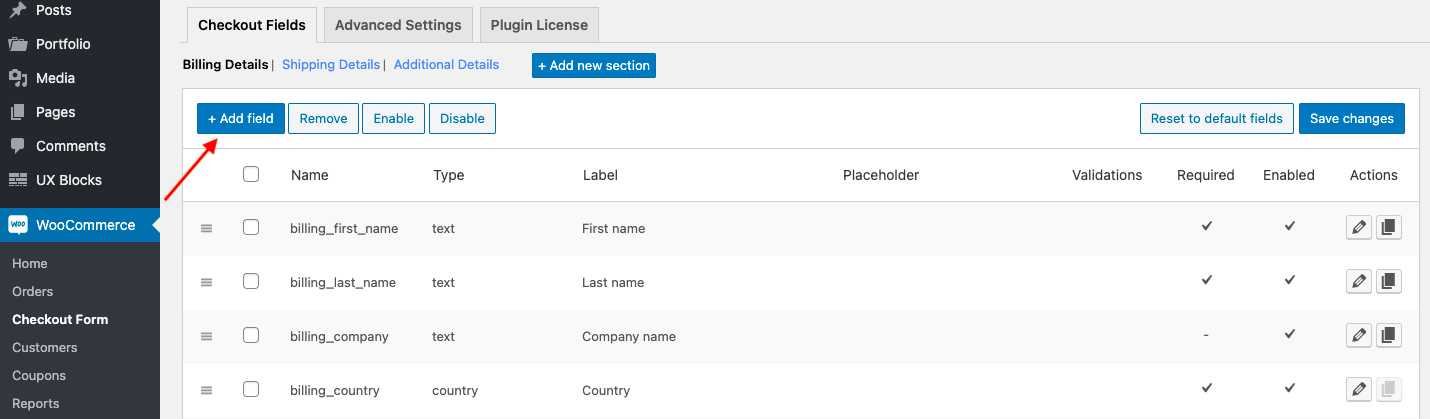
Then, click the ‘Add Field’ button.
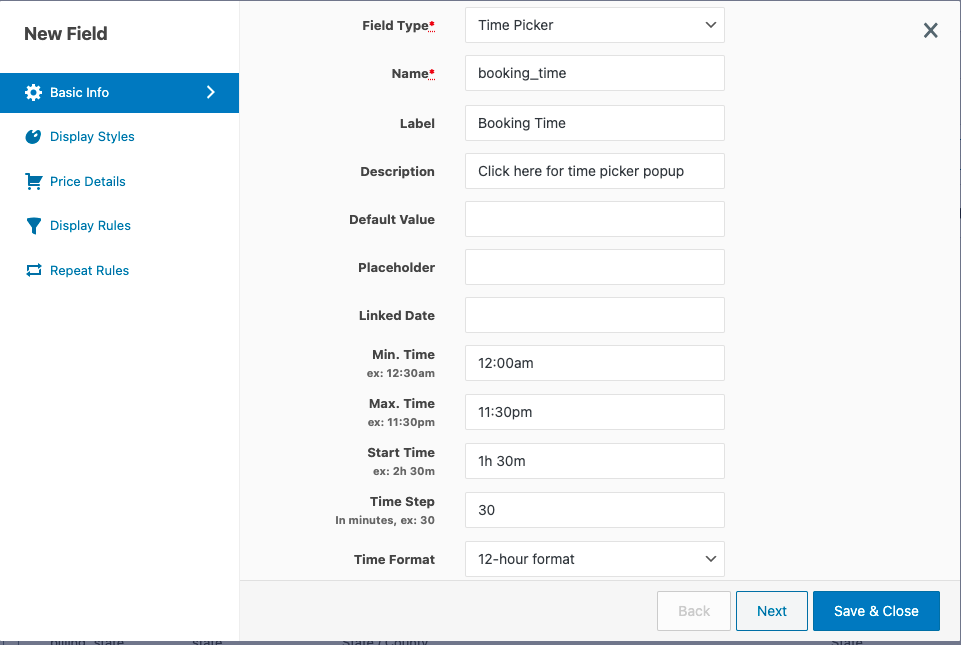
It will open a popup form where you need to select Time Picker from the Field Type select box. Fill the name for the field and other properties in the form and click on the ‘Add New Field’ button. Finally, click on the ‘Save Changes’ button so that the new changes take effect.
Properties specific to the field type Timepicker
| Linked Date | To link the Timepicker field to the Date Picker field, enter the field name of the date picker field in the Linked Date field. The time picker will display the time slots according to the chosen date of the linked Date Picker. If a day less than the current date is picked from the Date Picker, none of the time slots will be active to choose from. Similarly, while a day after the current date is picked from the Date Picker, all the time slots will be active. |
| Min. Time | The starting time in the list. ex: 9:00 AM. |
| Max. Time | The end time available in the list. ex: 7:00 PM. |
| Start Time | Minimum time needed to choose the next time slot. For example, if you require a minimum 2 hour and 30 minutes to prepare, pack & deliver the order placed by your customers, then you can set the Start Time as 2h 30m so the customer will only be able to select a time which is after 2h 30m from now. |
| Time Step | The interval which splits the time between the starting and ending time. In minutes, ex: 30. |
| Time Format | Choose between a 12 hour or 24 hours format. |
Comments
0 comments
Please sign in to leave a comment.